Apache Maven is a project management software, managing building, reporting and documentation of a Java development project. In order to install and configure Apache Maven on CentOS, follow these steps.
First of all, you need to install Java 1.8 JDK. Make sure to install Java JDK, not JRE.
Then go ahead and download the latest Maven binary from its official site. For example, for version 3.3.9:
$ wget http://apache.volia.net/maven/maven-3/3.3.9/binaries/apache-maven-3.3.9-bin.tar.gz
$ sudo tar xzf apache-maven-3.3.9-bin.tar.gz -C /usr/local
$ cd /usr/local
$ sudo ln -s apache-maven-3.3.9 maven
Next, set up Maven path system-wide:
$ sudo vi /etc/profile.d/maven.sh
export M2_HOME=/usr/local/maven
export PATH=${M2_HOME}/bin:${PATH}
Finally, log out and log in again to activate the above environment variables.
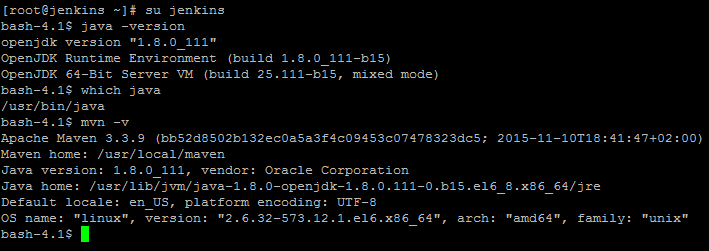
To verify successful installation of maven, check the version of maven:
$ mvn -version
Optionally, if you are using Maven behind a proxy, you must do the following.
$ vi ~/.m2/settings.xml
<settings>
  <proxies>
    <proxy>
      <active>true</active>
      <protocol>http</protocol>
      <host>proxy.host.com</host>
      <port>port_number</port>
      <username>proxy_user</username>
      <password>proxy_user_password</password>
      <nonProxyHosts>www.google.com</nonProxyHosts>
    </proxy>
  </proxies>
</settings>

Leave a Reply